
Across the world, people flock to the tropics for their relaxed ambiance and breathtaking beauty. However, most of us don’t live on an island — we only get to experience the tropics on infrequent vacations, and when we come home, our homes and workplaces can appear ordinary and distinctly un-tropical.
If you’re looking for a roofing material that provides a unique aesthetic touch, is relatively easy to work with, will last for years, and is an eco-friendly option, thatching may be what you need to consider for your next project.
Jump To Sections:
- Why Install a Thatched Roof?
- Thatch Installation Instructions, Tips and Tools
- How to Install Mexican Thatch
- How to Install Tahitian Thatch
- How to Install Tahitian Thatch
- How to Install African Reed Thatch
- How to Install Synthetic Thatch
- After Installation
- Other Tropical Materials to Use With Thatch
Both functional for residential roofs in many parts of the world and decorative for tropical-themed venues here in the United States, thatching is an incredibly popular way to create shade and protect a space from light wind and precipitation. Thatch can help an outdoor area feel comfortable and relaxing, while offering high-quality, environmentally friendly shelter.
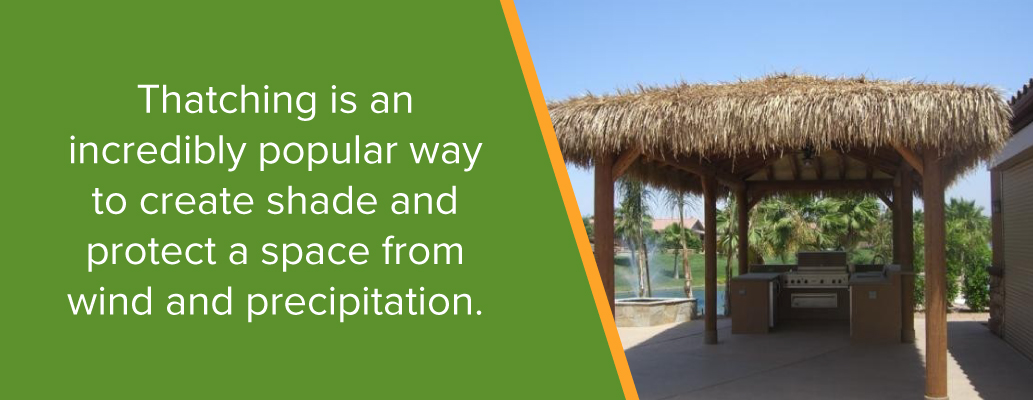
One way to capture the relaxed style of the tropics is through an island-inspired structure such as a Tiki hut or Palapa. Once you’ve built or purchased the framework of your new tropical structures, the next step is installing the classic thatched roof.
With the proper technique, a thatched roof is a moderately easy DIY project. We’ve compiled this guide on installing our four most popular types of thatch, so you can begin transforming your property into an island oasis.
Why Install a Thatched Roof?
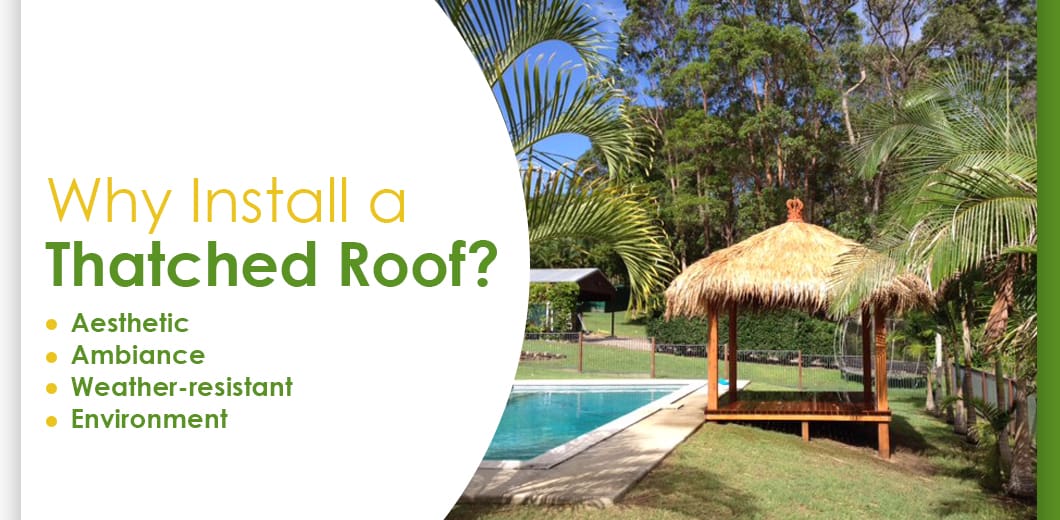
Thatch is a beautiful material that invokes the ambiance of island life. However, its benefits as a building material extend beyond its appearance — high-quality palm thatch is also eco-friendly.
Here are three reasons to choose thatch when designing a tropical building or theme.
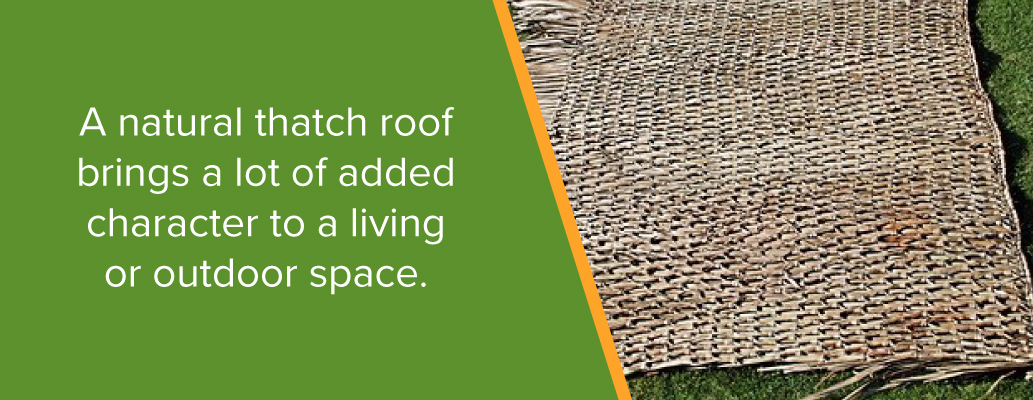
- Aesthetic: While the benefits of thatch go beyond its look, its appearance is the primary reason it is such a popular product. Thatch creates a beautiful, attractive aesthetic — simultaneously rustic and manicured, thatch makes your structures look both laid-back and stylish. As an entirely organic option, natural thatch at times exhibits some variation in color and size, even after the precise inspection we go through to ensure a high level of quality in our products. Perhaps because of this wholly unique look, a natural thatch roof brings a lot of added character to a living or outdoor space. It’s as though onlookers are momentarily transported to a warm, tropical hideaway without the added travel costs!
- Ambiance: A beautifully installed thatched roof goes a long way toward creating a tropical, relaxing atmosphere. Whether in commercial or residential applications, thatch helps cultivate a lovely ambiance and makes any space inviting.
- Weather-resistant: Across time and continents, many cultures have used thatch as mild protection from the elements. The overlapping pattern will help keep weather from impacting any furniture or equipment stored beneath. Natural thatch is best suited for dryer, low-rainfall climates, but can be used in all environments. Natural thatch is weather-resistant in the best ways. It is also a highly effective natural insulator, maintaining your structure at a comfortable temperature in both warm and cold climates.
- Environment: Palm thatch is woven from dried and cut palm leaves. It’s possible to harvest palm leaves without damaging the palm tree, which means thatch is a sustainable and renewable resource. You can also install thatch products by hand, without the use of heavy machinery or harmful chemicals. Growing and harvesting natural palms and reeds is a process that requires comparatively few resources and very little time, making the creation of natural thatch products a highly sustainable industry. Disposal of natural thatch products is eco-friendly as well, and new panels can replace damaged ones with a relatively low cost both to you and the environment.
Regardless of what benefit draws you to this versatile product, you can be sure your thatched roof will be beautiful, durable and eco-friendly.
Thatch Installation Instructions, Tips and Tools
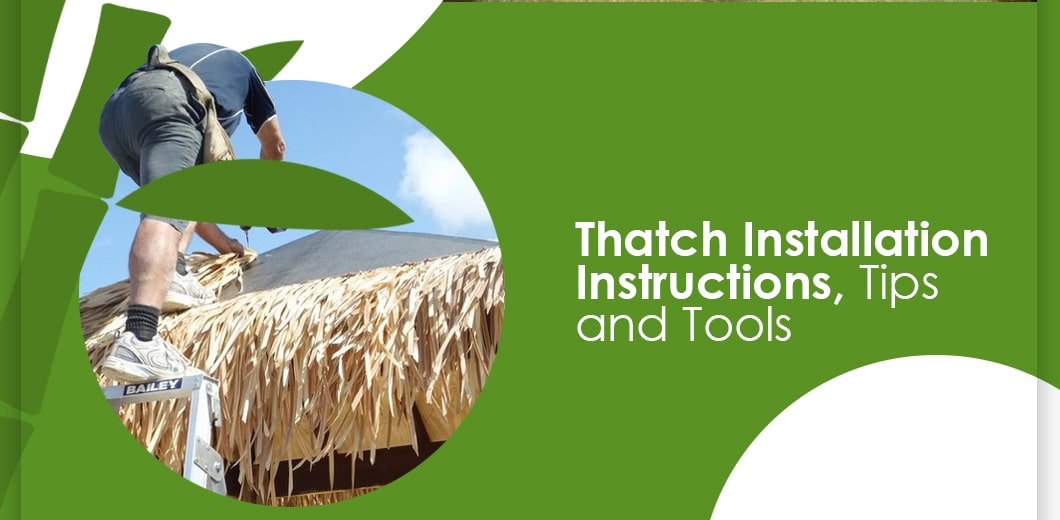
Many types of thatch can apply to either an open framework or a solid roofing structure. If you read your specific variety of thatch needs a solid surface, install a sub-surface of plywood to your framework before beginning. Place a piece of plywood larger than the bar over the pre-drilled bamboo skeleton and secure with nails. The surface needs to be free of debris and suited for stapling or nailing.
Before you begin, make sure you know how to install tropical thatch, and that you’ve gathered the necessary tools to install your thatch roof.
- Either a manual or pneumatic staple gun or a hammer and nails to attach the thatch to the roofing structure
- Half-inch staples or 1/2″ nails
- A razor knife or a pair of sharp scissors to cut thatch runners to the appropriate size and to trim overhang
- Measuring tape to determine where to apply the thatch for complete coverage
- A permanent marker to mark necessary measurements — make sure you choose a color that will be easy to see on the roofing surface
- Standard safety equipment, including gloves, eye protection, hard hats and anything else that will help prevent injury during installation
Test out your equipment to make sure it is in working condition before beginning any construction project — nothing is more frustrating than beginning the installation, then realizing you have dull scissors or a jammed staple gun. As you prepare to start your project, keep these few tips in mind for a smooth installation.
- Rinse and dry: Palm thatch and other natural thatch varieties may have some residues that you may want to rinse off to avoid staining floors or other areas that are affected by runoff. While this isn’t an essential step, it can be beneficial. Rinse your thatch with a garden hose and allow to dry before installing your roof.
- Safety first: As you prepare to build your thatched roof, be mindful of any safety risks — refresh yourself on your fire safety codes, and make sure your thatch roof won’t be near an open flame.
- Measure carefully: When purchasing thatch, first measure the total square footage of the area to cover in feet and divide by the length of each panel in feet. Double the resulting number if you wish to install a double layer of thatch for generous coverage. Add 10 to 15 percent more to the total for overlapping and overhang. This result is the total number of panels you will need for your project.
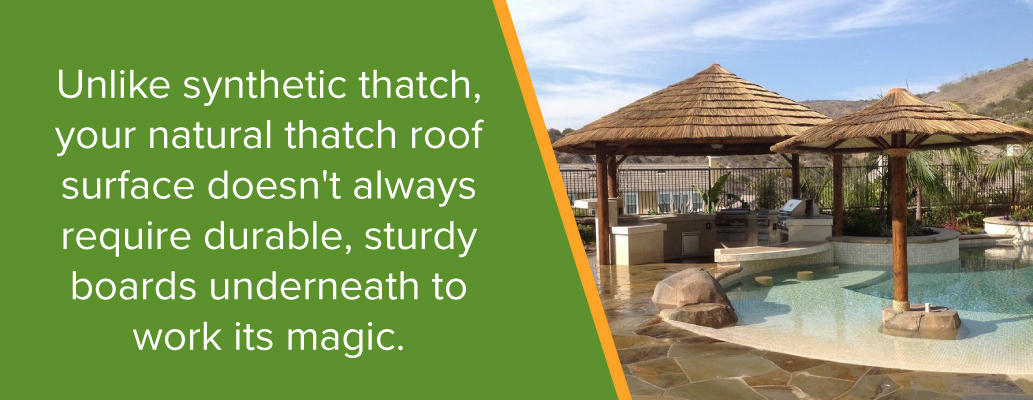
- Select a natural base: Unlike synthetic thatch, your natural thatch roof surface doesn’t always require durable, sturdy boards underneath to work its magic. In fact, if you don’t mind potential drooping, natural thatch can be placed on top of a simple framed open structure, and it will still provide suitable shelter.
As you work with thatch, protect yourself against unnecessary scratches by wearing long sleeves, pants and gloves whenever you are cutting or installing the material.
How to Install Mexican Thatch
Of all our thatch products, Mexican palm thatch is one of our most popular materials. At Forever Bamboo, we make sure our Mexican palm thatch is high-quality, eco-friendly and hand-woven by expert artisans.
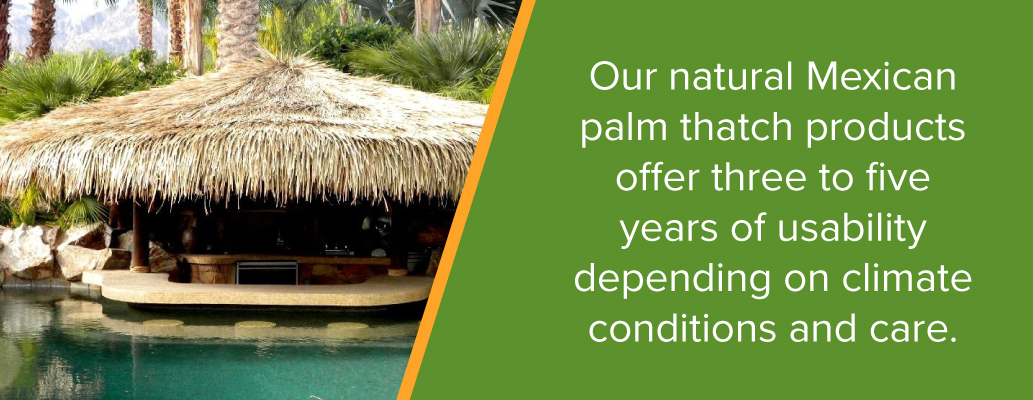
Created with natural palm fronds that have been dried and hand-woven, these thatch runners offer three to five years of usability depending on climate conditions and care. Our Mexican palm thatch is our most popular commercial-grade thatch product. At cost effective prices, and with its ability to insulate well and shield from the elements, this tropical roofing resource is hard to resist.
Once you’ve gathered the necessary tools, you’re ready to begin installing your new Mexican palm thatch roof. For the best results, follow the steps listed below.
- Measure: First, measure and mark the areas where you want to apply the thatch on your roofing structure.
- Cut: Based on your measurements, use a razor knife or sharp scissors to cut the thatch runner into even segments. Begin cutting the thatch at the knots on one edge of the roll, working your way down between knots as you go.
- Begin at the bottom: Start installing the thatch at the bottom edge of the roof and work in a horizontal row. Use a hammer or staple gun to attach the thatch to the roof, and check to ensure you are installing it with the rough, shaggy side facing up and the woven, knotted side facing down.
- Overlap: Make sure to leave a 12- to 16-inch overhang for full, natural-looking coverage, and install your thatch at roughly 12 to 15 inches on center.
- Double your layers: For a complete, fuller look, consider installing a double layer of thatch. Along with improving the appearance of your structure, a double layer of thatch will increase the water-resistant properties of the roof.
- Work all the way to the ridge: Apply thatch in horizontal rows until you reach the ridgeline of your roof. Once you’ve completed the base layer, cut smaller sections of thatch to cover the ridge and hips of the roof.
- Finishing touches: Using scissors, trim the bottom of the overhang to create a more finished, polished look.
Depending on the climate, this thatch will last two to three years, and it comes in runners with a variety of sizes so you can cut it to the specific size you need.
Mexican palm thatch gives a rustic tropical look, and it is perfect for roofing island-inspired structures such as Tiki huts, bars and Palapa thatch structures. This thatch is prevalent in both commercial and residential applications — Mexican palm thatch is aesthetically pleasing, environmentally friendly and distinctly economical, making it a favorite thatching choice for a variety of projects.
How to Install Tahitian Thatch
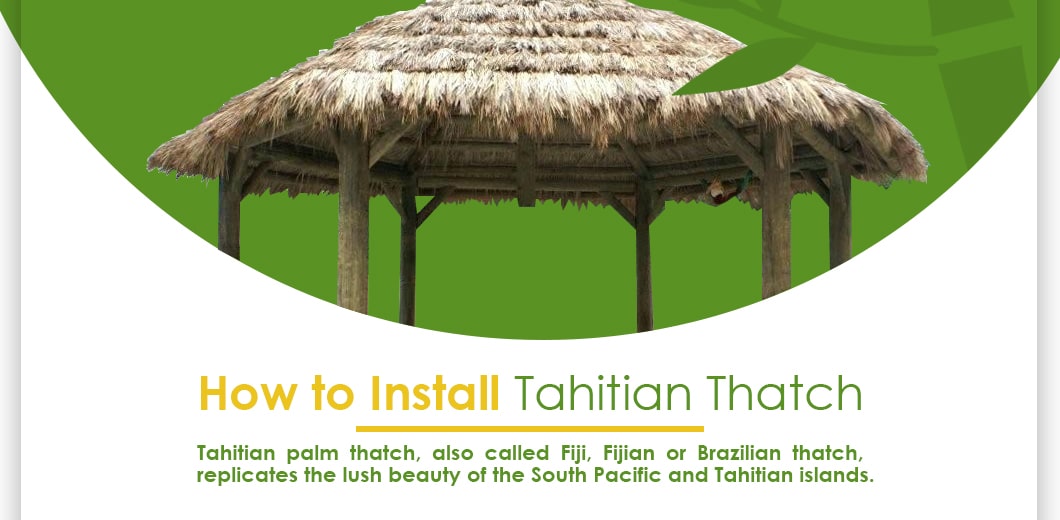
Tahitian palm thatch, also called Fiji, Fijian or Brazilian thatch, replicates the lush beauty of the South Pacific and Tahitian islands. The palm leaves we use in our range of Tahitian palm thatch products have been specially dried in the sun, ensuring consistency in shape, quality and size. These leaves then get expertly woven into panels with commercial-grade nylon string for lasting durability and to help secure the leaves.
Fiji thatch is an economical roofing material that comes in pre-cut panels three feet long and two feet wide, ready for immediate installation. This thatch is gorgeous on umbrellas, huts, covered decks and pavilions.
After collecting your tools, you are ready to begin installing your new Tahitian palm thatch. Follow the steps listed below for the smoothest results.
- Measure: Using a permanent marker and a reliable measuring tape, measure and mark the areas where you will apply your thatch.
- Start at the lowest edge: Begin installation at the bottom edge of your roofing structure and apply the thatch in a horizontal line, securing the panels with a staple gun or hammer and nails.
- Overlap: To achieve a full, complete look, you must overlap the panels at least 20 inches on center.
- Work your way to the ridge: Keep installing the panels in consistent, overlapping lines until you reach the ridgeline. To cover the hips and ridge of the roof structure, measure and cut smaller pieces of the thatch panels and apply them to any exposed areas. As you apply smaller pieces of thatch to cover edges or for accenting, keep the overlap pattern consistent for the best results.
- Final adjustments: Use a sharp pair of scissors to trim any stray pieces of thatch.
Tahitian palm thatch has a lifespan of approximately 10 to 12 years, although this will vary depending based on environmental conditions and maintenance. Fiji palm thatch can instantly transform an exterior or interior space into a tropical haven — it is a perfect choice for both commercial and residential projects, and is common in water parks, resorts, zoos and poolside cabanas.
How to Install African Reed Thatch
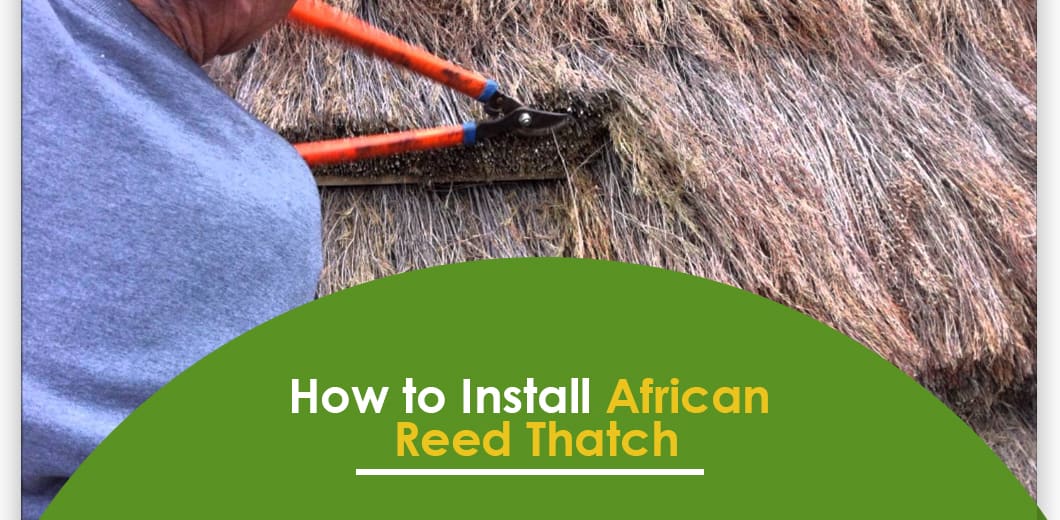
Charming, beautiful and authentic, African Cape Reed thatch creates stunning roofs and is a popular material for a wide range of projects. Reed thatching originated in southern Africa — sturdy, water-resistant native plants paired with exceptional technique produced incredible thatching. When European settlers arrived, they quickly realized this new method of thatching was very effective, and they noticed African reed produced better thatching than European grasses.
As a result, African Cape Reed thatch gradually swept across the world. Today, property owners value this type of thatch for its rich color and polished appearance. In commercial applications, it conveys an atmosphere of luxury and class, while in residential projects, African Cape Reed thatch can help create a backyard oasis that will impress friends and family alike.
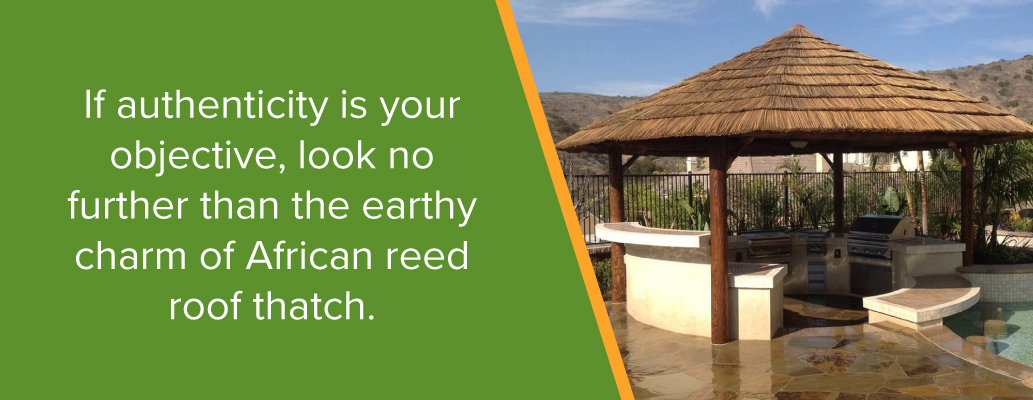
If authenticity is your objective, look no further than the earthy charm of African reed roof thatch. It is a beautiful banded paneling material with vibrant golds, tans and browns to offer genuinely rustic textures to any outdoor space. In addition to roofing, African thatch is popular as an umbrella and gazebo paneling resource.
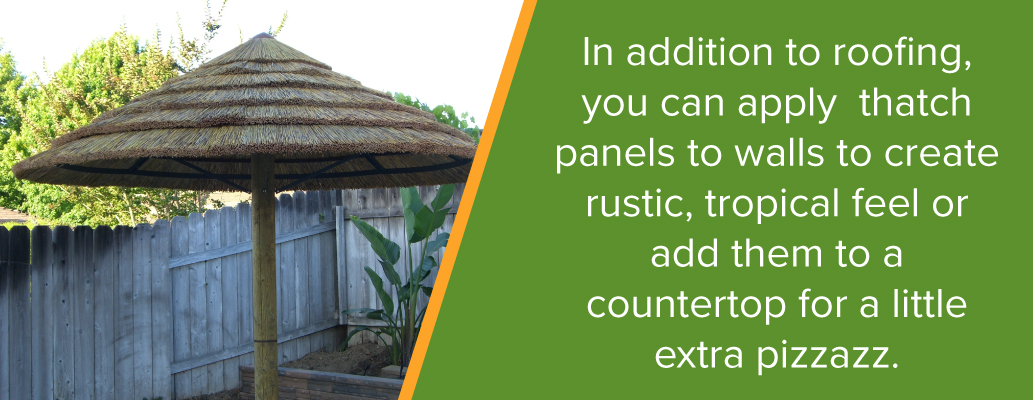
Highly versatile, African Cape Reed thatch can be installed on open or solid roof structures. Since these thatch panels are as durable as they are, they have many uses. In addition to roofing, you can apply them to walls to create rustic, tropical feel — and you can expect them to last for years.
For the best results, follow the steps outlined below.
- Measure: With your measuring tape and marker, determine where you will apply the thatch and make visible markings to guide you as you install.
- Remove clips: African Cape Reed thatch comes with clips to secure it in place — before installing, remove any clips from the top portions of the panels.
- Begin application: Start installing the reed thatch panels at the lowest pre-marked areas on the roof structure. Work your way horizontally, slowly moving up the roof. Use a hammer or a staple gun to secure each panel.
- Eave installation: For a fuller, more complete look, try adding a second layer of panels to all linear eave surfaces.
- Overlap: Overlap panels 14 inches on center for complete coverage.
- Work up to the ridgeline: Apply panels in horizontal lines, overlapping 14 inches on center, until you reach the ridge of the structure.
- Cover the edges: Cut panels into smaller pieces to cover the hips and ridges of the roof. Maintain an overlapping pattern, around 14 inches on center.
- Finish the ridge: For a classic, polished look, you can use split half round bamboo poles to cover the peaks of the roof. Use an electric drill and screws to secure the split poles to the ridgeline.
An African Cape Reed thatch roof will last roughly eight to 10 years, depending on climate conditions and maintenance. Eco-friendly and weather-resistant, African Cape Reed thatch brings a natural and authentic tropical look to any space.
How to Install Synthetic Thatch
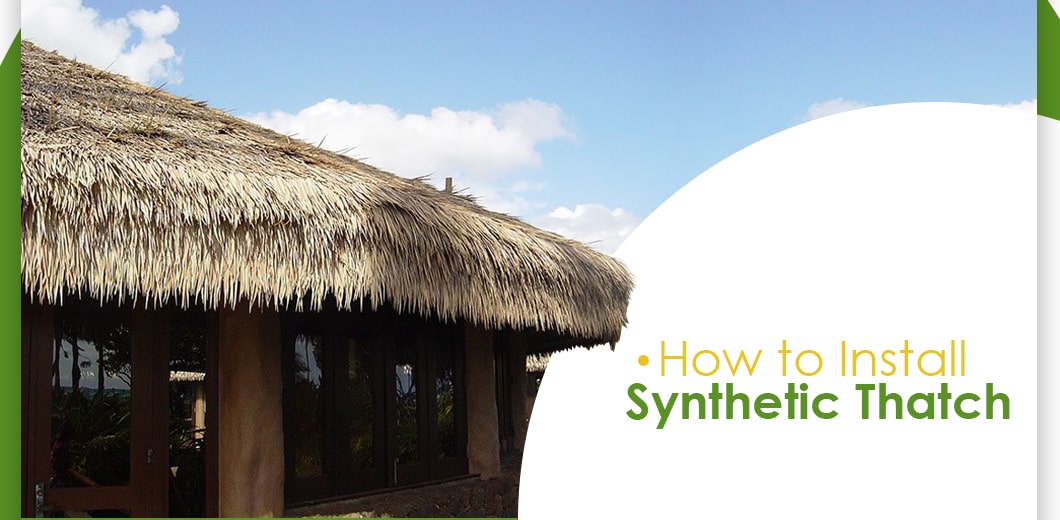
Natural thatch has many advantages for creating a durable and decorative roof. But sometimes synthetic materials are better suited to get the job done. Let’s talk about why artificial thatch panels might be your best choice:
- Appearance. Our synthetic materials are nearly indistinguishable from our natural thatch products. Some customers express worry of artificial thatch appearing “fake,” but our experience has shown that to the untrained eye, what is real and what is synthetic looks very much the same. These premium High-density polyethylene (HDPE) synthetic materials have the appearance of realism, giving you all of the aesthetic benefits of our Mexican palm thatch, for example.
- Affordability. If you’re renovating your outdoor space or replacing old thatch panels, synthetic thatch might be a great economical alternative for you. These panels can last up to 20 years or more, meaning that you won’t have to maintain or replace them quite as often.
- Nature-resistance. Compared to the natural palm thatch products, synthetic materials have a higher chance of a longer lifespan against decay, wind and pests. They also won’t be as likely to shed or be susceptible to pest damages. Our maintenance-free subpanels also happen to be recyclable and eco-friendly, despite being composed of artificial materials.
Now that we’ve addressed some of the attributes of synthetic thatch that make it both attractive and cost effective, let’s go over some tips that will help you install it correctly, as there is a difference between installing natural panels and artificial ones:
- Requires solid surface structure: Unlike natural thatch panels, synthetic palm subpanels must be installed on solid sheathing like plywood secured over rafters.
- Waterproof before paneling: Over the solid sheathing, you will need to apply a waterproofing underlayment, since these thatch panels do not provide protection from rain on their own, and you wouldn’t want the moisture to damage your plywood base layer.
Viro Java palm thatch is a synthetic roofing product made from recyclable, high-density polyethylene (HDPE). HDPE is trustworthy, effective and in extensive use across many industries — for example, HDPE is the primary material for many exterior furniture sets. HDPE creates strong, weather-resistant thatch, making Viro Java palm thatch an economical and beautiful roofing material.
Each panel of Viro Java palm thatch is pre-cut for ease of installation, but this type of synthetic thatch isn’t right for every kind of roof structure — Viro Java palm thatch is specifically designed to cover solid sheeted roof structures. If your roofing structure is an open frame, you can fasten plywood boards to the framework to create a solid surface for the thatch.
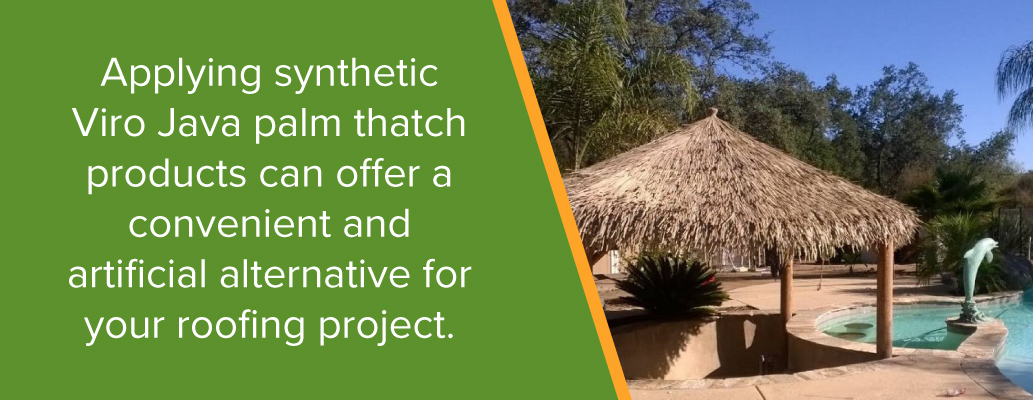
Using the same toolkit we’ve addressed for other forms of thatch installation, applying synthetic Viro Java palm thatch products can offer a convenient and artificial alternative for your roofing project. These subpanels provide the best of synthetic thatch advantages and are incredibly versatile because of their easily adjustable size and layering capabilities.
Follow the steps listed below for a smooth synthetic thatch roof installation.
- Measure: First, measure and mark out the areas where you want to apply your thatch. Keep in mind the dimensions of the thatch — each panel of Viro Java palm thatch is designed to cover up to a 1.7 square foot area.
- Begin installation: Starting at the bottom edge of the roof, attach each panel to the roof with a staple gun or a hammer. Overlap each panel roughly seven to eight inches on center for a full appearance.
- Double initial layer: On the first row of your thatching, apply a double layer of thatch. This extra thatching will help create a full overhang, and it will make your roof look complete.
- Work upwards: Continue securing the thatch, one row at a time, until you reach the ridgeline of your roof.
- Cover the ridge and hips: Once you’ve thatched the entire roofing surface, it’s time to cover the exposed hips and ridge. Measure the exposed spaces and cut panels of thatch into smaller sections. Attach these sections to the hips and ridge, moving from the bottom to the top and overhanging each piece.
Often used to cover Tiki huts, bars and umbrellas, Viro Java palm thatch is common in resorts, theme parks and residential pool or backyard settings. Eco-friendly and relatively low maintenance, synthetic thatch is growing in popularity across a broad range of applications. It resembles Mexican palm thatch and gives structures a natural look and feel.
Depending on the specific environmental conditions, Viro Java palm thatch products will last for many years, often outlasting their natural thatch competitors.
After Installation
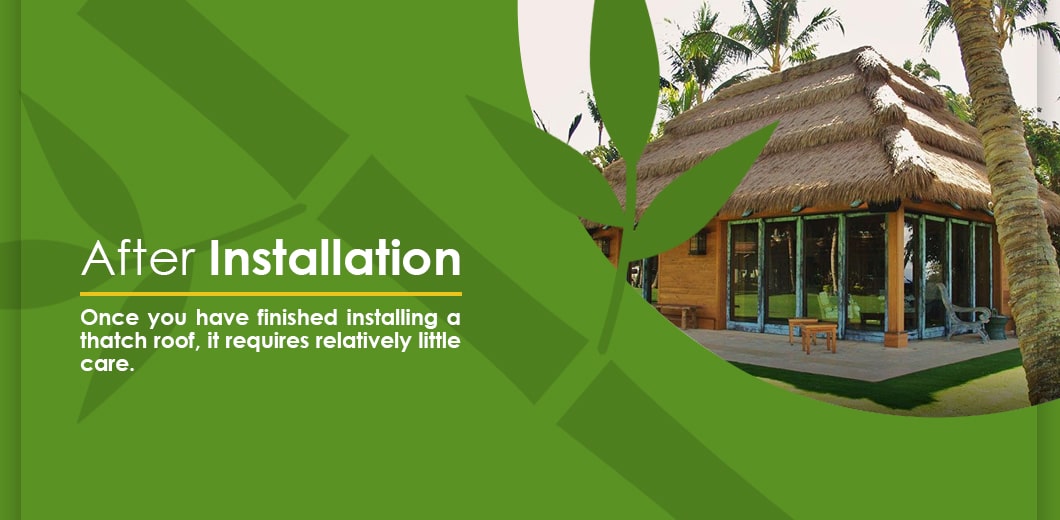
Once you have finished installing a thatch roof, it requires relatively little care. It can withstand the elements surprisingly well. Initially, there may be some runoff after the first rain, but this washes away easily. With minimal upkeep, a synthetic thatch roof can last up to 20 years! Keep an eye on your roof and replace or clean panels as necessary.
Other Tropical Materials to Use With Thatch
Don’t stop at a thatched roof — complete your tropical theme with a variety of accessories, such as thatch umbrellas or tropical decor and furniture. Bamboo, in particular, pairs well with the island-inspired look of thatch, and it is one of the most common accent materials for tropical projects. Bamboo is an evocative material that carries connotations of peace, luxury and stability — some of the most-used bamboo products include poles, paneling, slats, rugs and fences.
- Bamboo poles: Consider using bamboo as a primary or accenting material in your tropical design — bamboo poles can accentuate an open roofing framework, helping support your thatch while deepening the tropical atmosphere of your space.
- Bamboo paneling: Affordable and eco-friendly, bamboo paneling is easy to cut and attach to a variety of surfaces. Apply bamboo paneling to ceilings, walls or bar fronts for a stylish, intricate look.
- Bamboo slats: Bamboo slats are lovely and versatile — you can use them in a variety of applications, such as wainscoting, wall coverings or flooring. Incorporate bamboo slats into your tropical structures for a stunning and island-inspired look.
- Bamboo rugs: Few things are as elegant as a modern, stylish bamboo rug. For a touch of contemporary design, consider rolling out a bamboo rug in the center of a thatch-covered structure. Practical as well as beautiful, a bamboo rug will effortlessly complete a tropical theme.
- Bamboo fencing: To complete your tropical look, consider surrounding your property with a sustainable and striking bamboo fence. Bamboo fencing comes in a range of colors and variations, including warm yellow and caramel brown. Burnt bamboo fencing is another popular option to lend any project a sophisticated touch.
Bamboo products are sustainable and beautiful, making it the perfect material to pair with a new thatched roof.
A common accent product used is matting, which can be placed under the plywood base of your roofing structure. Line the underside of your roof with matting rolls for a gorgeous aesthetic accent which can be seen from underneath the roof! We offer a variety of matting options for every style and preference:
- Lauhala Matting: Handwoven and constructed from sun-dried Hala leaves, this option is a perfect light-toned choice for those who are a fan of the one-inch checked pattern that is signature to the Lauhala matting style!
- Bac Bac Matting: The gorgeous coffee bean and coconut tones of our Bac Bac Matting make this material the perfect choice for someone looking for a slightly darker look with versatile tonality.
- Lampac Matting: Arguably the most elegant matting option we offer, Lampac matting is constructed by skilled craftsmen from dried blades of reed grass. This choice is great for anyone who is looking for a medium brown look!
- Viro Synthetic Matting: Looking for something that is more resistant to the elements? Try our synthetic matting options! Our viro synthetic matting comes in a variety of color and texture options, making this a great alternative to natural matting materials.
Find the Highest-Quality Thatch at Forever Bamboo
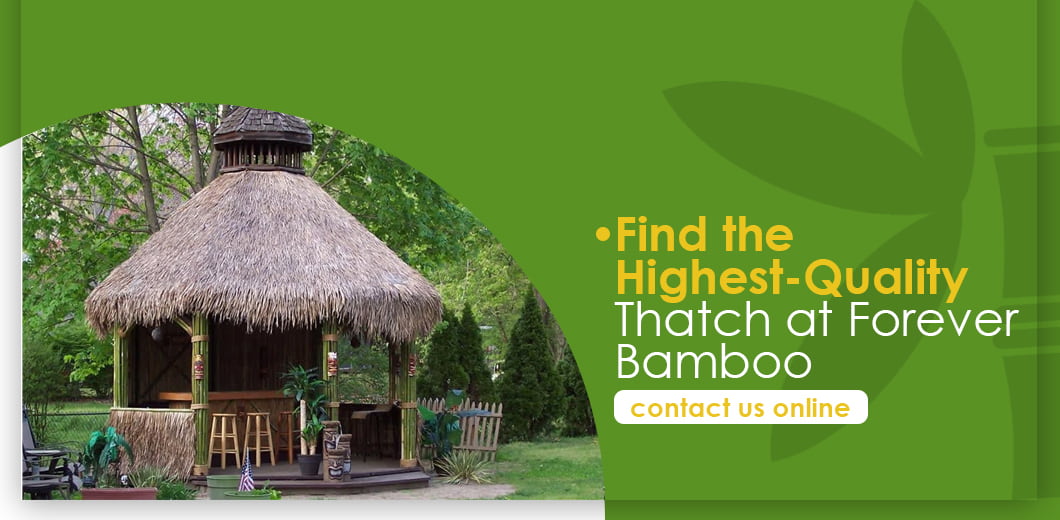
A thatched roof is a perfect way to transform your property into a tropical paradise. But don’t settle for subpar quality — invest in a product that is just as functional as it is beautiful.
At Forever Bamboo, we are the leading supplier of commercial-grade bamboo and thatch products across North America. We offer high-quality, eco-friendly and carefully sourced materials at competitive prices, and our knowledgeable and enthusiastic staff is available to assist you with all your thatch, bamboo and tropical decor needs. Try before you buy with a sample box! Place your order within 45 days of purchasing your samples and get $25 off. This makes your sample box FREE!
Now that you know how to install thatch roof, you can trust Forever Bamboo to provide you with the highest-quality products and industry-leading expertise in all things related to palm thatch and bamboo materials. Browse our online selection, contact us online or give us a call at 877-912-2244 to begin your tropical project today.
