


Jump to Sections:
- Getting Started: Guide to Tiki Bar Building
- Supplies and Materials Needed to Build a Tiki Bar
- How to Build a Tiki Bar
- Basement Decoration Tips for Your Tiki Bar
- Where to Buy Supplies and Materials to Make Your Own Tiki Bar
Getting Started: Guide to Tiki Bar Building
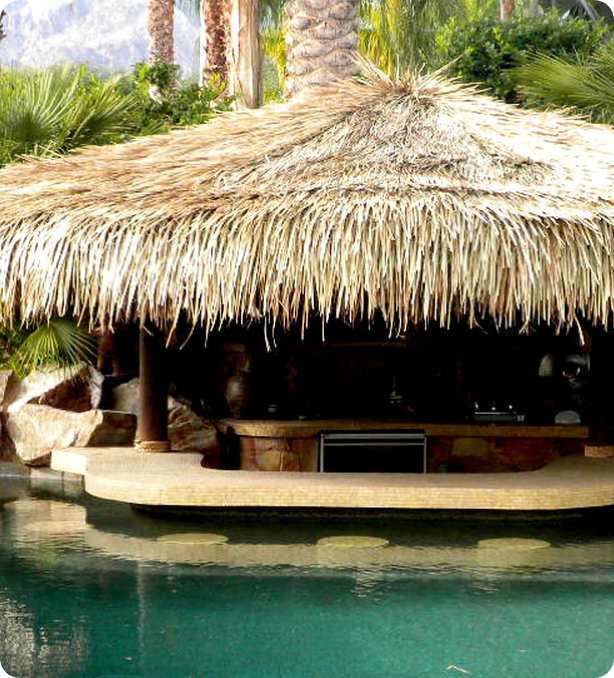
Building a Tiki bar in your basement can provide a gathering place for all of your celebrations and hangouts with friends and family. To get started on your new basement Tiki bar, you’ll need to organize a plan. Take time to make these few essential decisions about your project before you grab your tools and start building.
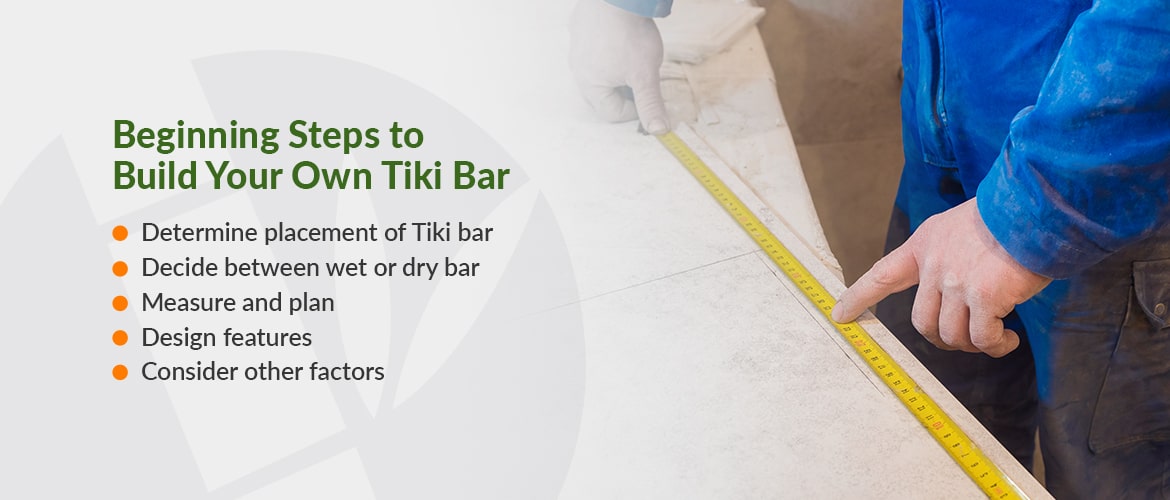
Beginning Steps to Build Your Own Tiki Bar
Complete these first steps before you begin:
- Determine placement of Tiki bar: You know you’re putting your Tiki bar in the basement, but it’s important to decide on the exact spot you’ll want to build your bar. You should consider the bar’s size, the amenities it will need and the amount of space you’ll have around the bar area. If you’ve already finished your basement, you’ll need to work with the existing layout. If your basement is unfinished, you’ll have more leeway to customize your bar space and decide where you’ll put it
- Decide between wet or dry bar: The difference between a wet or dry bar is having access to plumbing for a sink. Decide if you want a wet or dry bar before purchasing supplies and creating a layout for your basement Tiki bar.
- Measure and plan: You want the bar’s building process to be smooth and the bar design to fit the spot you selected in the basement. Before you start building, make sure you measure the room in your basement and plan the dimensions of your bar. Measuring will help make sure everything fits how it’s supposed to, and you’ll have enough space for building your tropical Tiki bar.
- Design features: Planning the layout of your bar means you’ll need to decide on the materials and design features. Since you’re building a Tiki bar, all of your design elements will likely be tropical and Tiki-themed. You’ll need to consider adding items like bar stools, bar surfaces, foot rails, shelves, cabinets and more. You can find many products online that look tropical and match your Tiki theme.
- Consider other factors: There may be a few additional amenities that will enhance your Tiki bar experience. Consider other factors like electrical outlets, cable hookups or Wi-Fi, access to water lines, doorway height and ceiling height.

Supplies and Materials Needed to Build a Tiki Bar
Building your basement Tiki bar yourself can feel extremely rewarding. Though you’ll need to follow step-by-step instructions closely for the best results, this project is an accomplishable DIY task. Before you head to the store and buy tools and materials, make a list of all of the supplies you’ll need to build your perfect basement Tiki bar.
Here is the list of tools to consider for this project:
- Tape measure
- Air compressor
- Air compressor hoses
- Safety goggles
- Framing nailer
- Finish nailer
- Screw gun
- Plastic sheeting
Here is a list of building materials you’ll need for your Tiki bar:
- 3/4-inch pressure-treated plywood sheets
- 4-by-4-inch posts
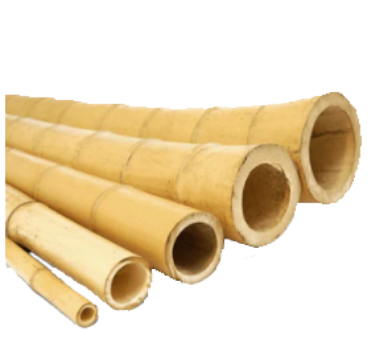
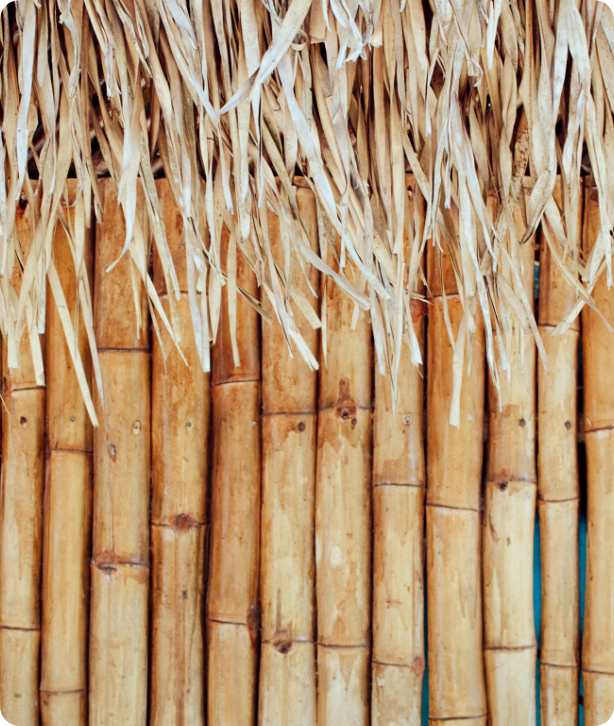
- Bamboo panels or sheets
- L brackets
- Pine 8-foot 2-by-4s
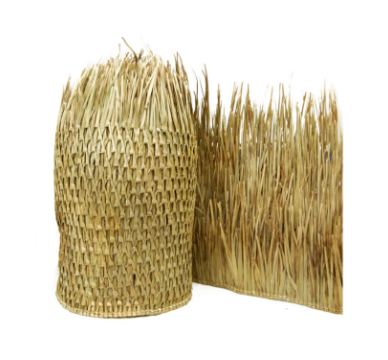
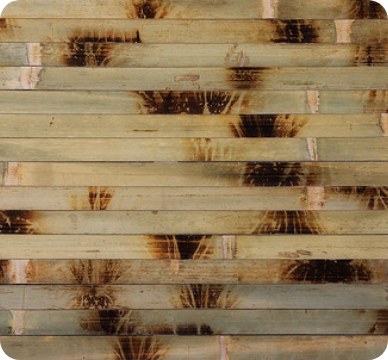
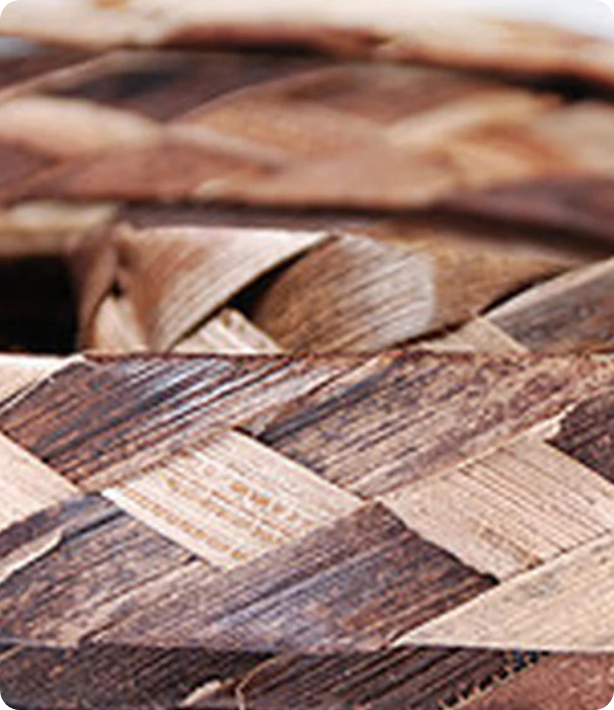
- Thatch
- 1-by-2 poplar boards
It’s a good idea to stock up on some extra materials in case you run out. Mistakes or miscalculations are common during DIY projects, and you’ll be thankful you bought some extra wood or brackets. It’s also important to set a budget for your project and find quality materials that will fit. Because a DIY project is likely less expensive than hiring a contractor, you may be able to allocate more of your project budget to high-quality materials.
If you think a helper would be beneficial in completing the job quicker, invite a family member or friend to help you with the DIY project. Ensure they know what your vision for the Tiki bar is and explain the details you both need to know in order to complete the basement Tiki bar.
Complete your bar project in the same spot you’re placing it in once you finish the job. You don’t want to encounter a situation where you finish the job and can’t fit the bar in the doorway. Bring your workstation and all your tools to the basement before you begin your project.
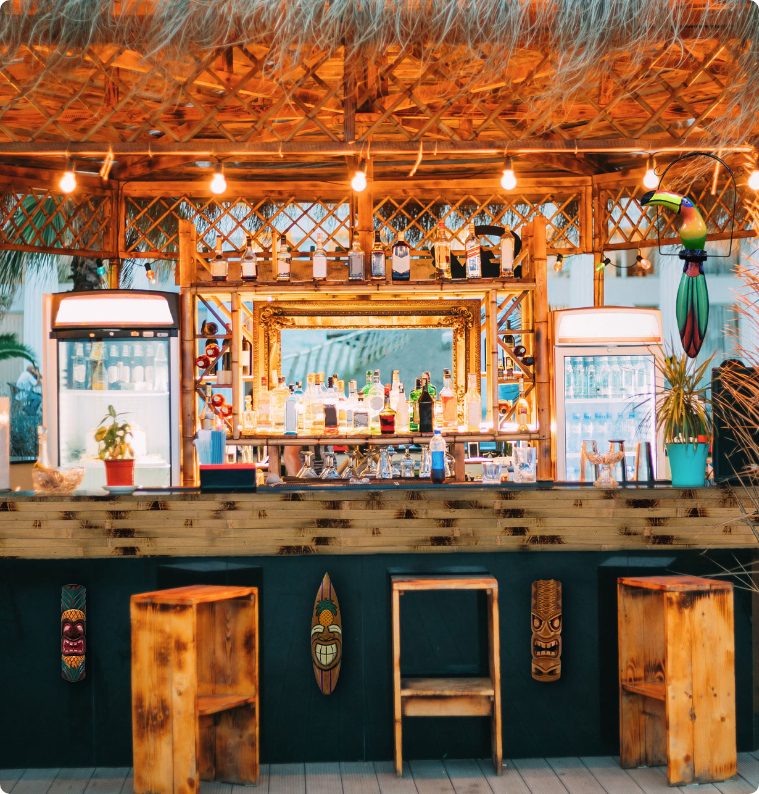
How to Build a Tiki Bar
Once you have organized your building plan, purchased your tools and materials, found the perfect spot in your basement, and decided on any other factors you want to include, it’s time to start building your tropical Tiki bar. Follow this Tiki bar building guide for an overview of how to construct your own tropical hangout in your home:
1. Cut Walls
You’ll start your project by cutting the vertical inner walls. Use your plywood and measure and cut for the three sections of the bar. You’ll have nine pieces of plywood after you measure and cut.
2. Cut Bar Shelves
Next, you’ll cut the inner bar shelves. Measure and cut two of the shelves so they are around 30 inches long. The front shelf should be 19 inches long.
3. Cut Bottom and Top Pieces
Now you’ll need to measure and cut the bottom and top pieces of your bar. These pieces are horizontal, and you’ll place them on each side of the bar.
4. Assemble Bar Sides
At this step, you’ll start to put the sides of the bar together. You’ll need to use framing nails and glue to assemble the sides of the bar. You’ll attach the bar walls with the bottom and top pieces, attach the inner wall that is vertical to the bottom and top, then attach the shelves between the middle and bar walls.
5. Attach Other Bar Sections
It’s time to start attaching the bar sections together. Cut your plywood for each bar section and attach it with framing nails and glue. Then, you’ll move the attached bar to its permanent place.
6. Cut Countertops
Now, measure and cut the countertops for your Tiki bar. Make sure you account for the posts that will need to go through the countertop. Measure and cut a hole for the 4-by-4 posts to fit through.
7. Add Countertops
Install the countertops to the bar with nails and glue.
8. Install Roof Posts
Next, you’ll add posts for the roof. Start by adding glue in the post holes you cut in the countertops. Place the posts in and hold them while another person nails them securely to the bar from underneath.
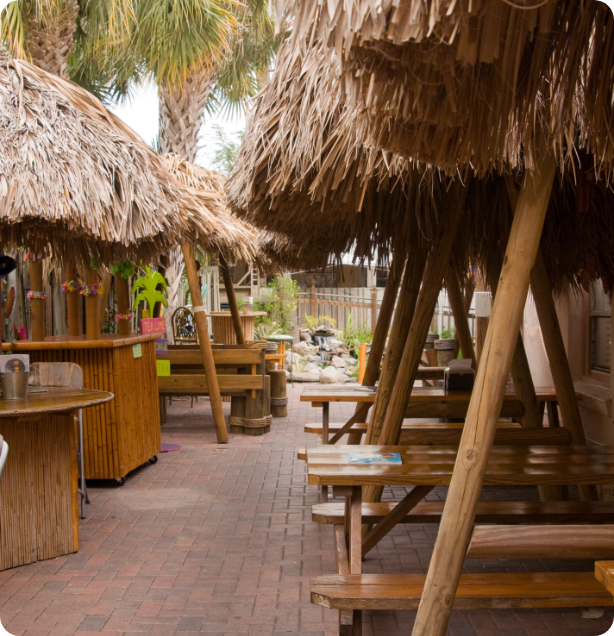
9. Add Bamboo Decor
Now you’ll get to add some tropical materials to your Tiki bar. Take some bamboo panels and place them across the outside of the bar. You can use finish nails to attach the bamboo panel to the plywood on the bar.
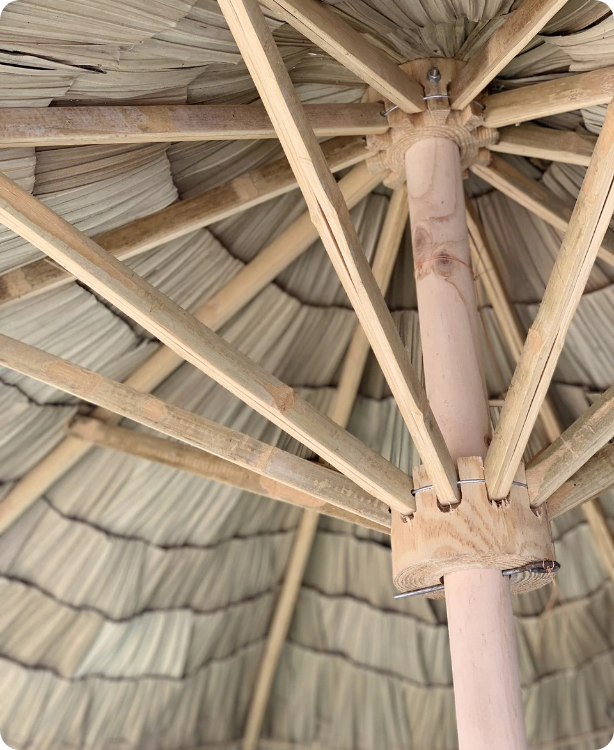
10. Attach Roof Frame
To attach the roof frame, start by measuring and cutting the 8-foot 2-by-4s. You’ll cut eight pieces that will form the top perimeter of the roof and the structure of the roof. Install the boards on the outside of the posts with lag bolts. Save the last four pieces for the roof structure.
11. Construct the Roof Structure
Use the remaining four 2-by-4s to build the roof structure. Then, cut a 4-by-4 to place in the middle for a support beam. Secure all the planks together with framing nails.
12. Install Post for Roof Pitch
Decide how high you want to pitch your Tiki roof. Install a post into the board that will be the middle support beam. In all four corners on the top of the post, cut a notch. Secure the beam vertically to the top of the roof structure.
13. Install Posts to Frame
Now, you’ll cut four 4-by-4 posts to complete the roof. Attach the posts from the peak to the roof frame. Cut the posts to ensure they fit in the notches you cut in the support beam and fasten them to the frame with lag bolts.
14. Add Support Posts
To make sure your roof is extra secured, cut a 4-by-4 post to place in each corner of the roof frame.
15. Attach Plywood to Roof
To complete the roof, you’ll measure and cut plywood to lay and secure on the four sides of the roof. You’ll have to measure and cut the pieces of plywood accordingly because they will increase in length as you move down the roof.
16. Use Plastic to Cover Roof
Cover the roof with plastic and use staples to fasten it into place.
17. Add Thatching
Attach the thatching on top of the plastic on the roof. Use staples to secure it in place.
18. Fasten the Roof
Carefully carry your roof and secure it onto the top of your Tiki bar with lag bolts.
19. You’re Done!
Congratulations! You’ve successfully built your Tiki bar. Stock it with your favorite drinks and invite your friends to enjoy the new space together.
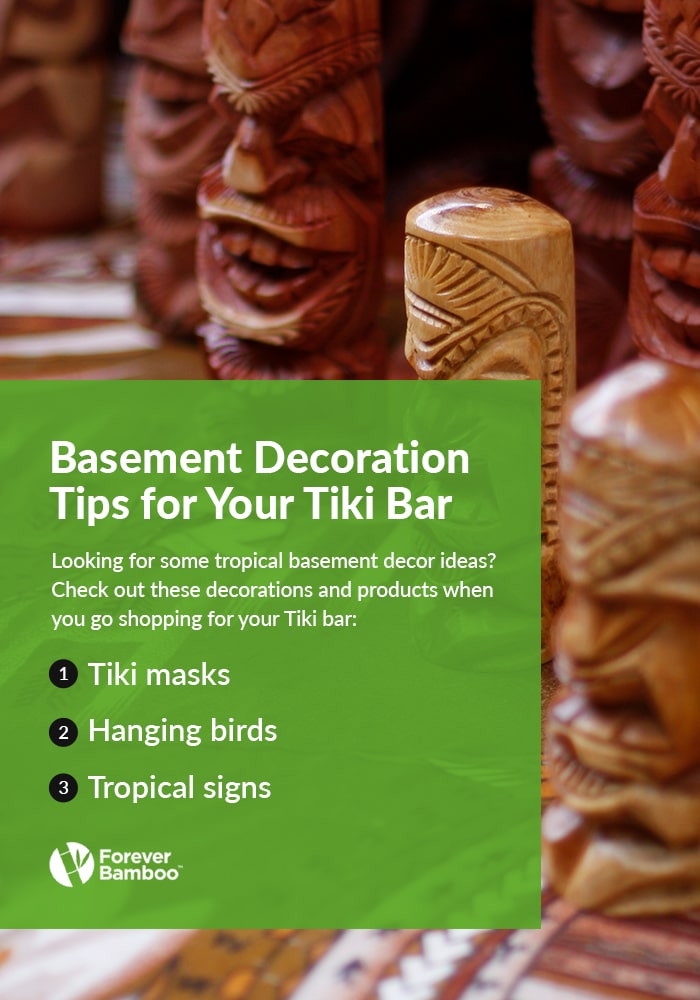
Basement Decoration Tips for Your Tiki Bar
With your Tiki bar completed, it’s time to make it look tropical. Design the bar with Tiki and tropical-themed items that will transport you to paradise. Looking for some tropical basement decor ideas? Check out these decorations and products when you go shopping for your Tiki bar:
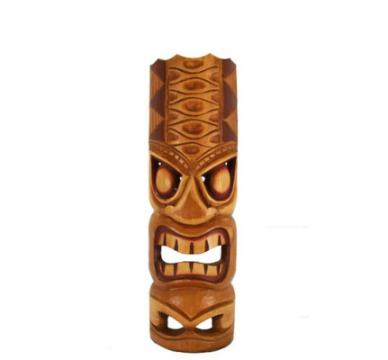
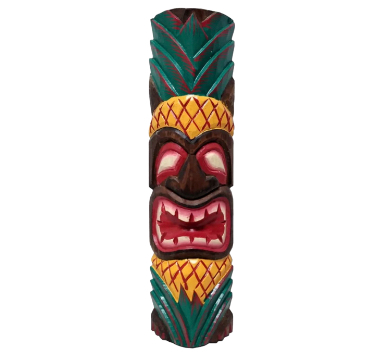
- Tiki masks: Handcrafted Tiki masks are an excellent detail to include on your Tiki bar. Tiki masks have a deep history that comes from Polynesian culture. You’ll add an authentic tropical feel to your Tiki bar when you add Tiki masks as decor.
- Hanging birds: A hanging bird is a perfect addition to your Tiki bar. These beautiful handcrafted statues are unique products for your basement bar.
- Tropical signs: Say welcome to paradise with a handcrafted and painted tropical sign. You can find different types of signs, like palm tree signs, flower signs, bamboo signs and more.
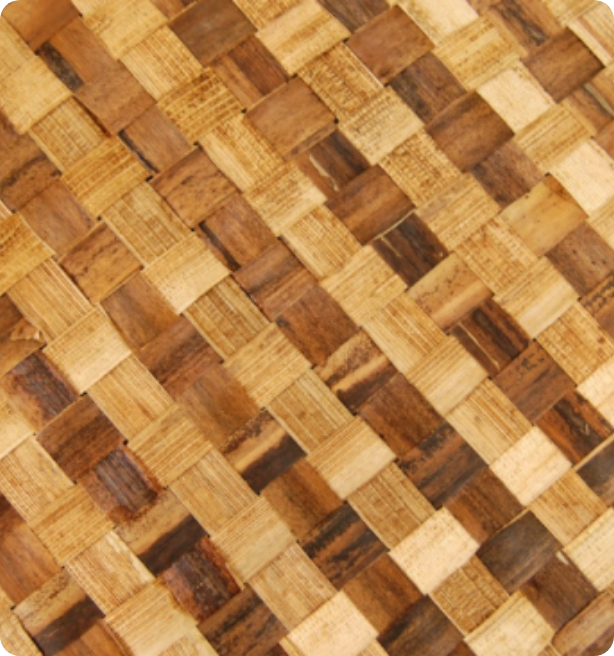
You can use other basement design ideas to transform your space into a tropical paradise. Look for products like bamboo rugs, tropical drinking cups, bamboo furniture, Tiki drink umbrellas and more Tiki-themed items.
Where to Buy Supplies and Materials to Make Your Own Tiki Bar
It’s important to find quality materials so your Tiki bar can work effectively and last a long time. Complete some research and find out the best deals for building materials near you. Most of the lumber and hardware materials will be easy to find, but you’ll have to look at a specialty store for some of the tropical materials.
If you’re looking for natural and tropical materials to make your own Tiki bar, check out Forever Bamboo. We offer bamboo, thatch and other natural materials that will be perfect for the Tiki bar you are building.

Shop Online With Forever Bamboo
Whether you’re shopping for supplies for your Tiki bar project or need decorations for your home or patio, Forever Bamboo has a wide selection of tropical products and decorations to help you bring a vision of a tropical escape to life in your home. We’re one of the country’s top providers of tropical materials and decor.
When you shop with us, you’ll have access to a wide variety of high-quality bamboo, thatch, tropical matting, Tiki products, umbrellas and artificial rocks for your Tiki bar, patio or home interior. We pride ourselves on supplying reliable bamboo and other eco-friendly building materials for homeowners and businesses. Our products can integrate perfectly with many of your DIY home projects or redecorating endeavors.
Shop for your tropical building materials with Forever Bamboo today and make your basement Tiki bar look authentic. If you want to learn more about our products, contact us for more information.